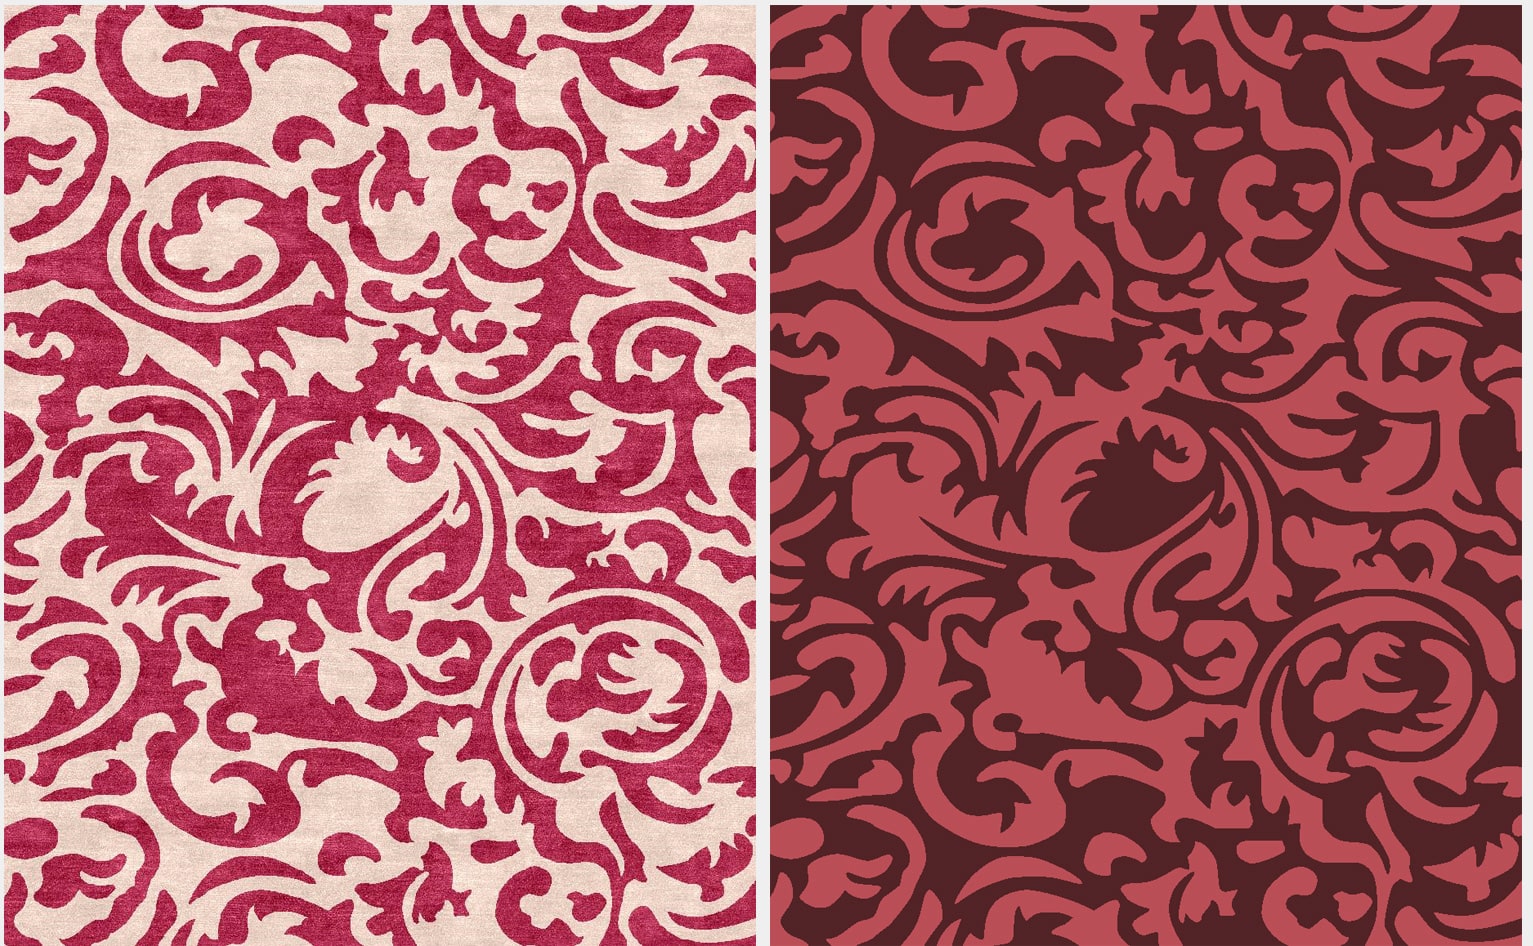
1. Tracing an image has never been a simple task. Until then Galaincha software provides you with much simple and easier tools that you can do it with less effort in short time. Open a design that you want to trace in for

2. Galaincha software provide you two methods of tracing a design
1) You can click on Trace Drawing from Used Colors bar, or
2) With help of Line / Curve tool, you can easily trace the design
3. Let us use second method of tracing the design using Line / Curve tool. For that, you need to add a new layer so that there are two individual layers where one layer contain the original information and next one will have tracing information. To add new layer from Layer palette, click on Add New Layer. A layer named Layer 2 will be added on top of Background layer.

4. Click on Line / Curve tool from tool box. Place the mouse on a point where you want to start tracing then click and drag the mouse to draw a line. You will see that the drawn line contains 4 blinking points. Drag the center points to the right side to change it shape to curve line. Press Enter after the modifying the points.

5. Keep on tracing the outline of the design until you completely have it. Then you can fill in the outline with a color to see the tracing result. Simply drag and drop color from Factory Color or from Foreground color to fill.

6. Continue tracing the design till you have successfully traced them all. When you are done then simple replace the color to match the original design.

